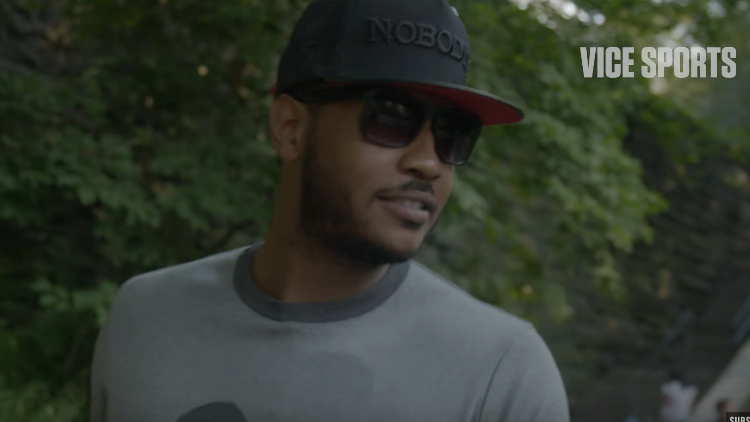
So you wanna learn how to draw Carmelo Anthony, but your artistic as a rock. No matter, by watching this step by step tutorial from Merrill Kazanjian of how to do it. You’ll be sending Melo your creepy fan art in no time flat. Thank me later.
Step by step instructions of how to draw Carmelo Anthony, after the jump.
Step 1: Draw the three shapes that you see and notice their relationship with one another. The headband shape is about 1 and 1/2 times the height of the top of the head and Melo’s hairline forms another shape between the headband and the top of the head. Notice that the hairline shape starts at the mid way point of the head.
Step 2: Observe, then draw in the ear and the two eye shapes. Notice that the ear fits perfectly in to the indentation of the headband. Notice that Melo’s right eye shape starts at the same point as the hairline shape above it. His left eye shape is heart shaped because of the angle of his head. Finally, notice the triangular shape in between the two eye shapes and the downward angle that the eyebrows point.
Step 3: Add the nose shape and the shape for the cheek.
Step 4: Add the smile line. the moustache and the upper lip. Notice that the smile line goes slightly past the edge of the eye shape from step 2. The moustache and the lip are about the same width.
Step 5: Here is the trickiest step. I added 5 rows of shapes in this step. The top row is the gum line. Notice that there are seven points to the gum line. The next row is the teeth. There are eight teeth visible and due to the turn of his head, each tooth gets bigger from left to right until we reach the last tooth. The next row is a narrow dark space under the teeth. The row below the dark space is slightly thicker than the previous row, but not as dark. Leave the bottom row unshaded for now.
Step 6: Add Melos chin line and neck line.
Step 7: Add the shapes for his body.
Step 8: Add the details to Melo’s eyes.
